Auto Extend is an option associated with Scaling of populated objects. Generally this should be turned on (checked) in the Options Menu.
The purpose of Auto Extend is to ensure that a run of LEDs goes deep enough into the end of a stroke as you Scale a population. It is the most useful when you start with a small, single run layout and scale it up to larger sizes.
Without this option being turned on, as you Scale up, you may have runs that don't go all the way to the ends of the strokes, potentially leaving dark areas.
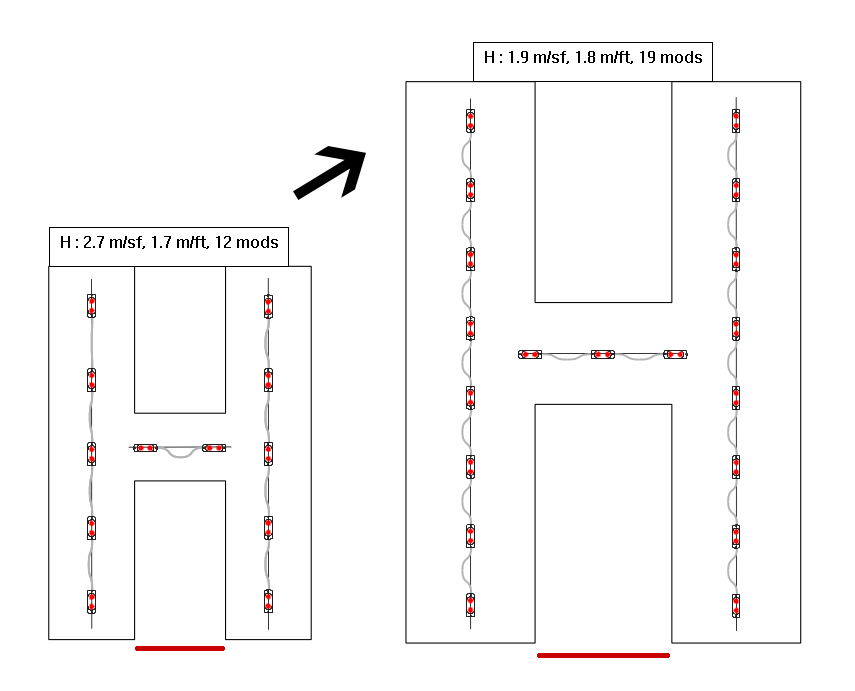
In this example, note that as the "H" is scaled up, the spacing from the ends of the modules to the ends of the letter stroke is consistent. Without Auto Extend, there is a tendency for that spacing to increase as the letter is Scaled up.
 LED Wizard 8 Documentation